Quick-start guide
Last updated: July 12, 2026
This guide walks you from a blank workspace to a live campaign. Follow the steps in order, since each one depends on the previous.
Step 1: Set up your email infrastructure
Before you can send any emails, you need outreach domains and inboxes that are authenticated and warmed up so they land in your prospect's inbox instead of spam. This step is entirely self-serve, and it's managed from Settings.
Only workspace admins can add new email accounts and domains. If you don't see this option, ask an admin on your team to add it, or ask them to grant you the appropriate role (see "Inviting your team and understanding roles" below).
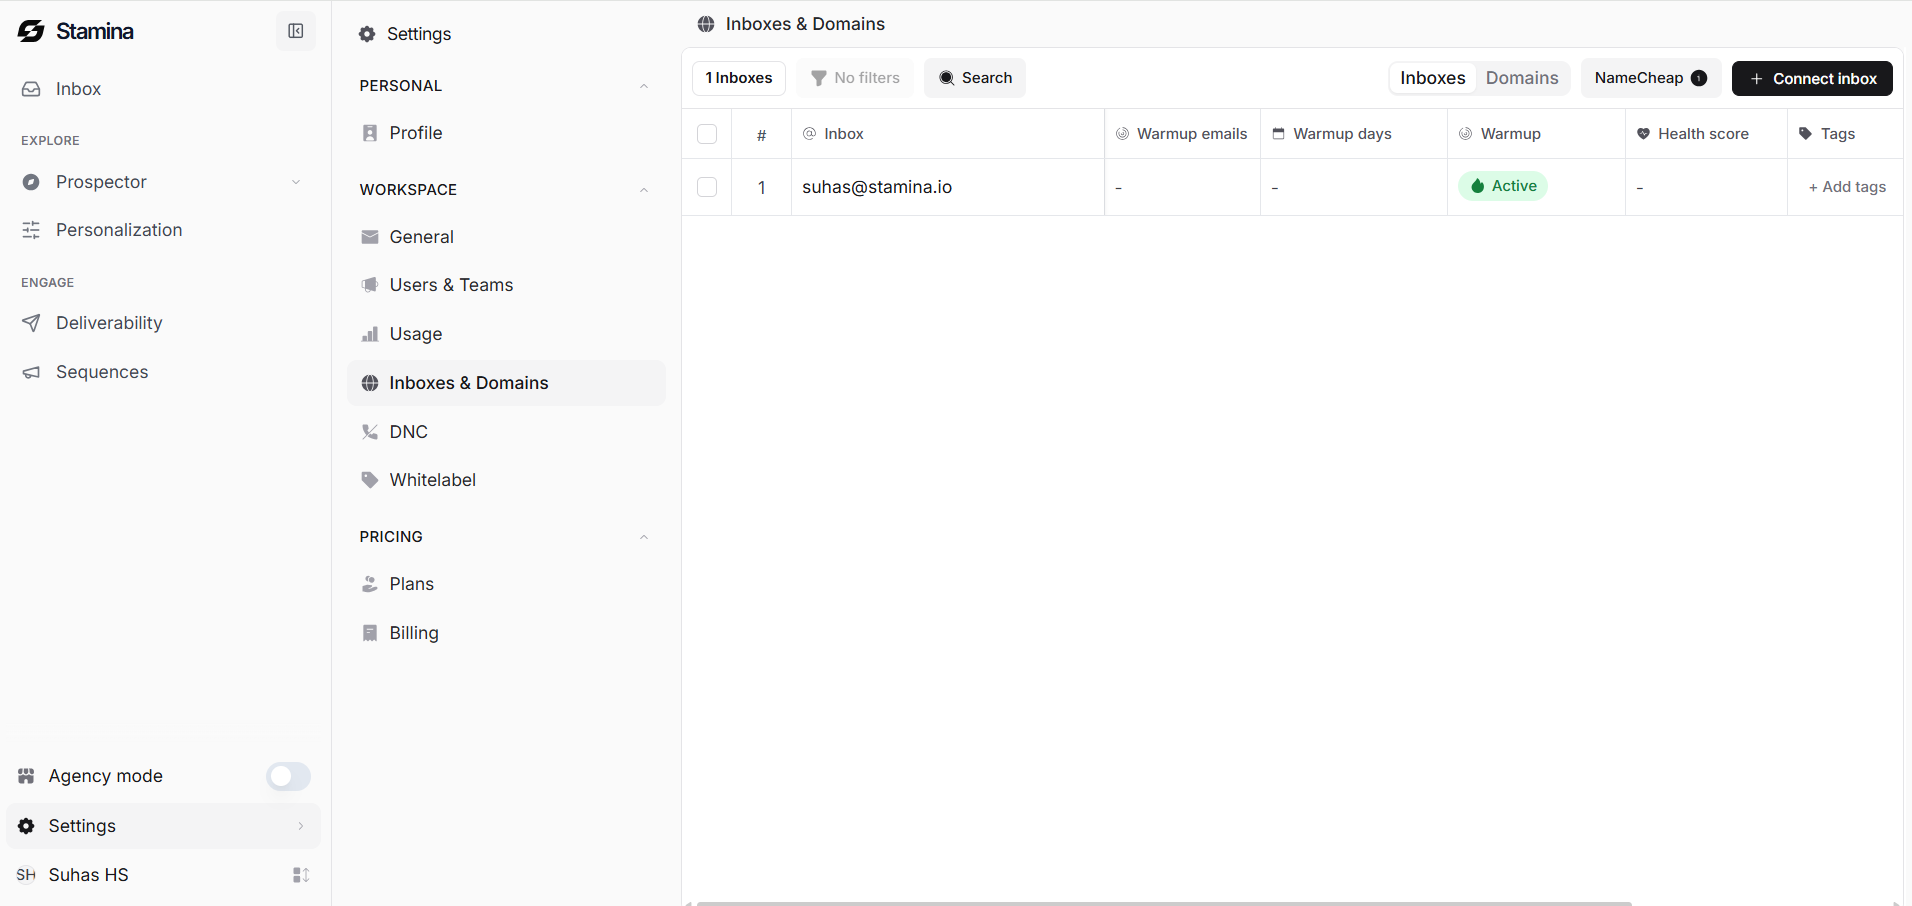
Go to Settings > Inboxes & Domains.
Click + New Domain (or + Connect inbox, depending on what you're adding).
On the Select setup type screen, choose one of the following options:
Done for you email setup (recommended): search for a domain, select from the available options, and Stamina purchases and hosts it for you through our domain partner, Namecheap. Domains typically cost around $3 per year. You get full access and control of the account once the purchase is complete.
Connect with Google: connect an existing Google Workspace inbox directly through OAuth in a few clicks. This is the fastest option if you already own a domain and inbox.
Repeat this process for each additional inbox or domain you want to add.
Once your accounts are connected, Stamina automatically configures SPF, DKIM, and DMARC records and begins the inbox warmup process. You can monitor warmup status, health score, and sending volume for each inbox under Deliverability.
If you ever need to transfer ownership of a domain purchased through Stamina, reach out through in-app chat or your shared Slack channel.
Step 2: Build your lead list
Before you can create a campaign, you need a list of leads to send to.
Go to Prospector and choose People if you're targeting individuals, or Company if you're targeting accounts.
Apply filters such as job title, seniority, department, industry, employee count, or revenue to narrow down your search. Alternatively, skip the filters entirely and use Use AI to find leads: describe your ideal customer in plain language (for example, "VP of Sales at Series B SaaS companies with 50 to 200 employees in the US") and let Stamina's AI search on your behalf.
Review your results. Once you're happy with the list, it becomes available for enrichment and use in campaigns.
Step 3: Enrich and personalize your leads
Go to Personalization and open the lead list you just built, or create a new one.
Use the Enrichment panel to fill in missing fields such as role and tenure, mobile number, work email, location, or company details. The exact credit cost is shown next to each field before you run it, since cost varies depending on which field and data agent is used.
Use the Signals panel to flag leads with recent funding events, new job postings, technology changes, or news events. These are useful, specific hooks to reference in your outreach copy.
Use the Use AI panel to generate custom columns or personalized copy from a plain-language prompt. For example, you might ask it to "write a one-line icebreaker referencing their most recent funding round." You can choose the underlying AI model and reasoning depth before generating.
Step 4: Create a campaign
Go to Sequences and click + New Campaign.
Give your campaign a clear, descriptive name, for example "US Founders, SaaS, Funding Signal."
You'll move through four tabs in order: Leads, Sequences, Schedule, and Settings.
Tab 1: Leads
Click Select leads to import a list you built in Personalization, or Upload CSV to bring in your own file directly. Leads without an email address, and any leads on your blocklist, will not be imported, so double check your list beforehand if the count looks lower than expected.
Tab 2: Sequences
Add your email steps here. For each step:
Write a subject line and email body.
Insert dynamic variables such as
{{firstName}},{{lastName}},{{companyName}},{{sendingAccountName}}, and{{senderSignature}}by typing/or clicking the{}button in the editor.Click Add variant to create additional A/B test variants (labeled A, B, C, and so on), and use the toggle to turn any variant on or off without deleting it.
Click Add step to add follow-up emails to the sequence.
Tab 3: Schedule
Set your campaign duration, meaning the start date and an optional end date. Then set your sending window: the time range each day emails are allowed to go out, your timezone, and which days of the week the campaign should send.
Tab 4: Settings
Give the campaign a final name and select which sending account or accounts to use.
Decide whether to stop sending on reply (recommended, and on by default), which pauses the sequence for any lead who responds.
Decide whether to enable delivery optimization, which sends emails as plain text instead of HTML to improve deliverability.
Set your sending pattern: daily sending limit, minimum interval between emails, a random additional delay to avoid looking automated, and a bounce pause threshold that automatically pauses the campaign if bounce rates get too high.
Optionally enable prioritize new leads, and keep insert unsubscribe link header turned on (recommended, and on by default) to stay compliant with anti-spam regulations.
When you're ready, click Save to keep working on it later, or Launch to go live immediately.
Step 5: Manage replies in Inbox
All replies land in Inbox, regardless of which sending account received them. Reply directly from here, track engaged leads under the Campaign opportunities tab, and manage every conversation from one place instead of switching between inboxes.
Step 6: Inviting your team and understanding roles
Once your own setup is working, you'll likely want to bring teammates in. Stamina uses role-based access control (RBAC), meaning what a person can see and do depends on the role they're assigned.
Go to Settings > Users & Teams.
On the Users tab, click + Add User and enter their email address to invite them.
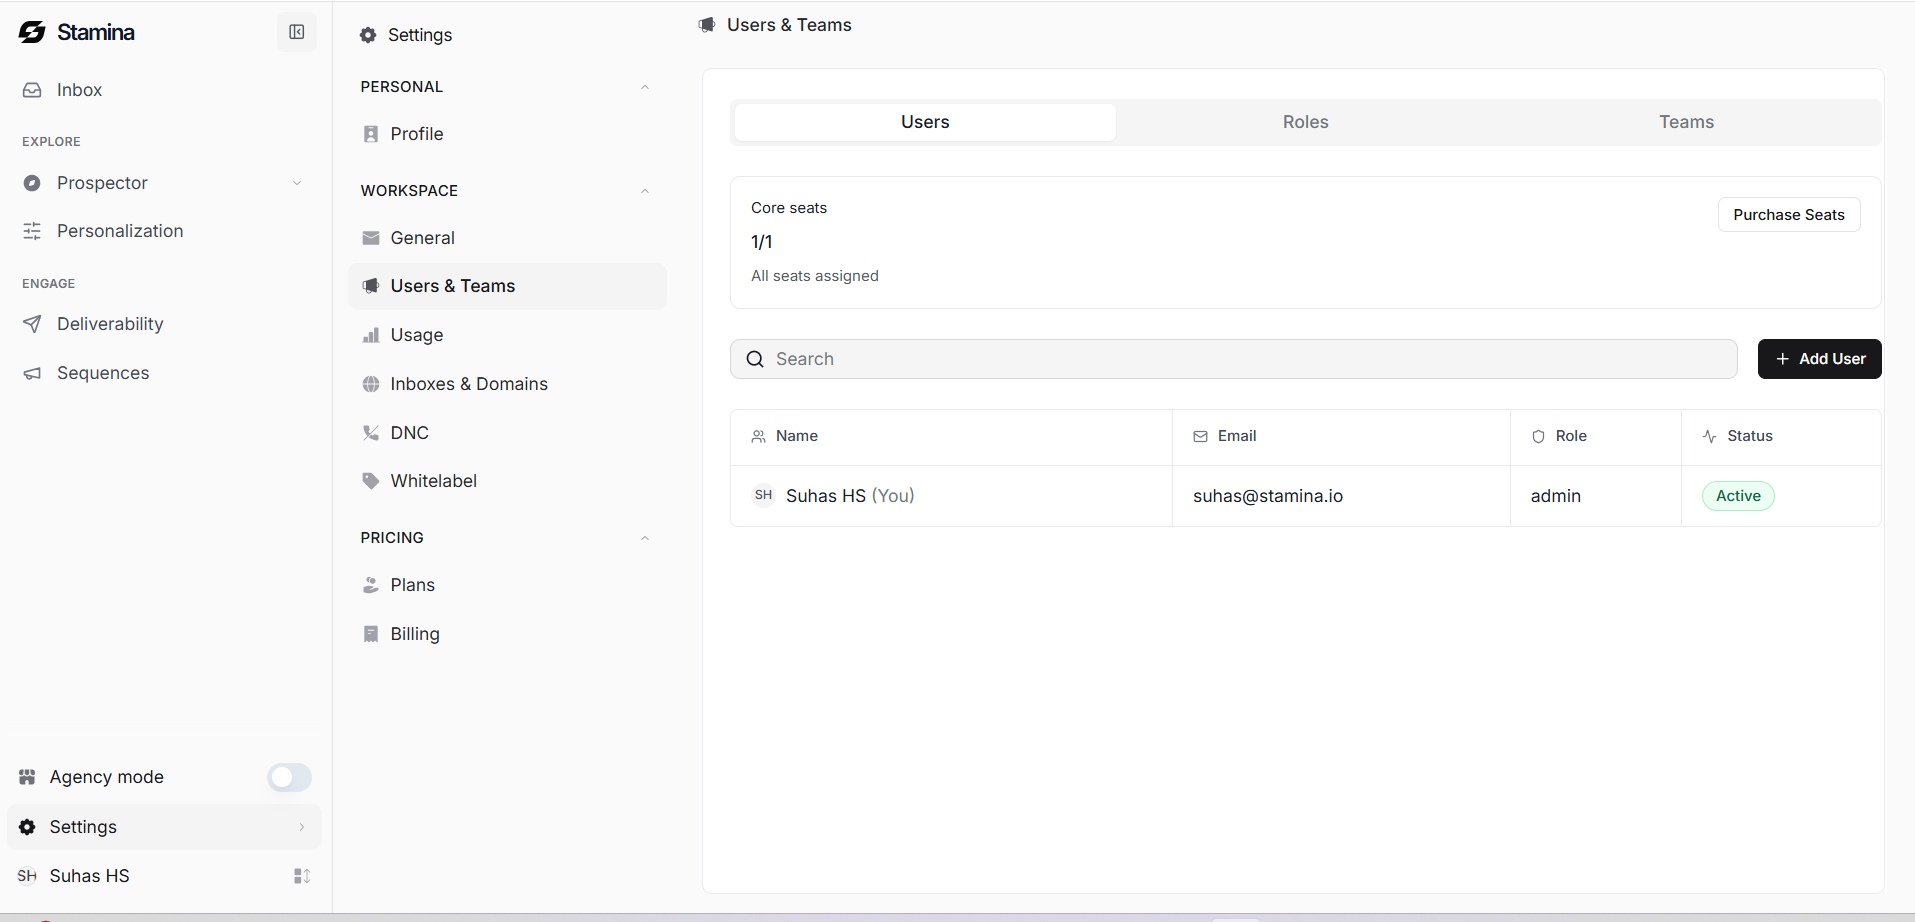
On the Roles tab, you can see the built-in roles and how many permissions each one includes:
Viewer: the most limited role, generally suited to stakeholders who only need to see results.
Editor: can make changes to campaigns and lists but has fewer permissions than an admin.
Admin: full access across the entire workspace, including billing, domain and inbox setup, and user management. Every workspace needs at least one admin.
Creator: broad permissions similar to admin, generally suited to people building and running campaigns without needing access to billing or workspace-wide settings.
You can also click + Create Role to define a custom role with its own specific set of permissions if the built-in roles don't fit how your team works.
On the Teams tab, you can group users into teams to make sharing and assignment easier, especially in larger workspaces.
How sharing works day to day
Beyond workspace-wide roles, individual resources such as Personalization lists and Sequences can be shared with specific collaborators using the Assign button wherever you see a Collaborators column.
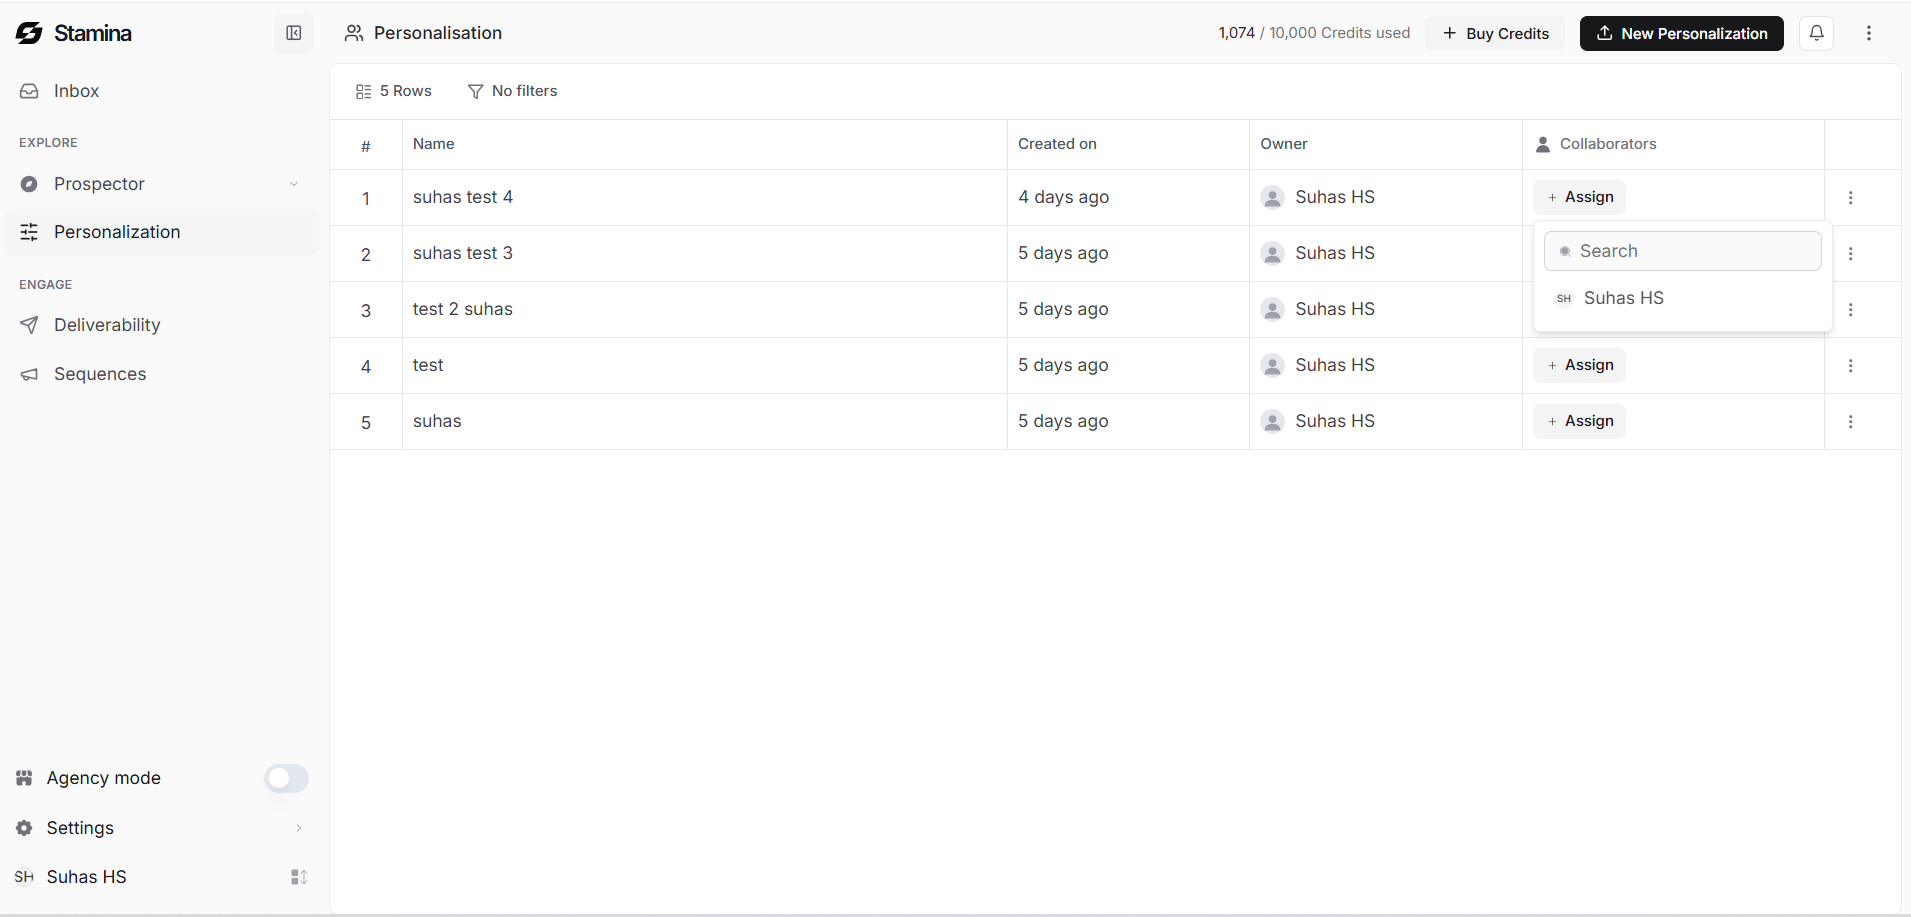
This means a collaborator only gets access to the specific lists or campaigns that have been shared with them, not the entire workspace. Admins, by contrast, have full visibility and access everywhere by default, regardless of what's been individually shared with them. Use workspace roles to control broad, account-level permissions, and use per-resource sharing to control who sees which specific lists or campaigns day to day.
Need help at any step? Your GTM strategist is available through in-app chat or your dedicated Slack channel.