Build your sequence
Last updated: July 12, 2026
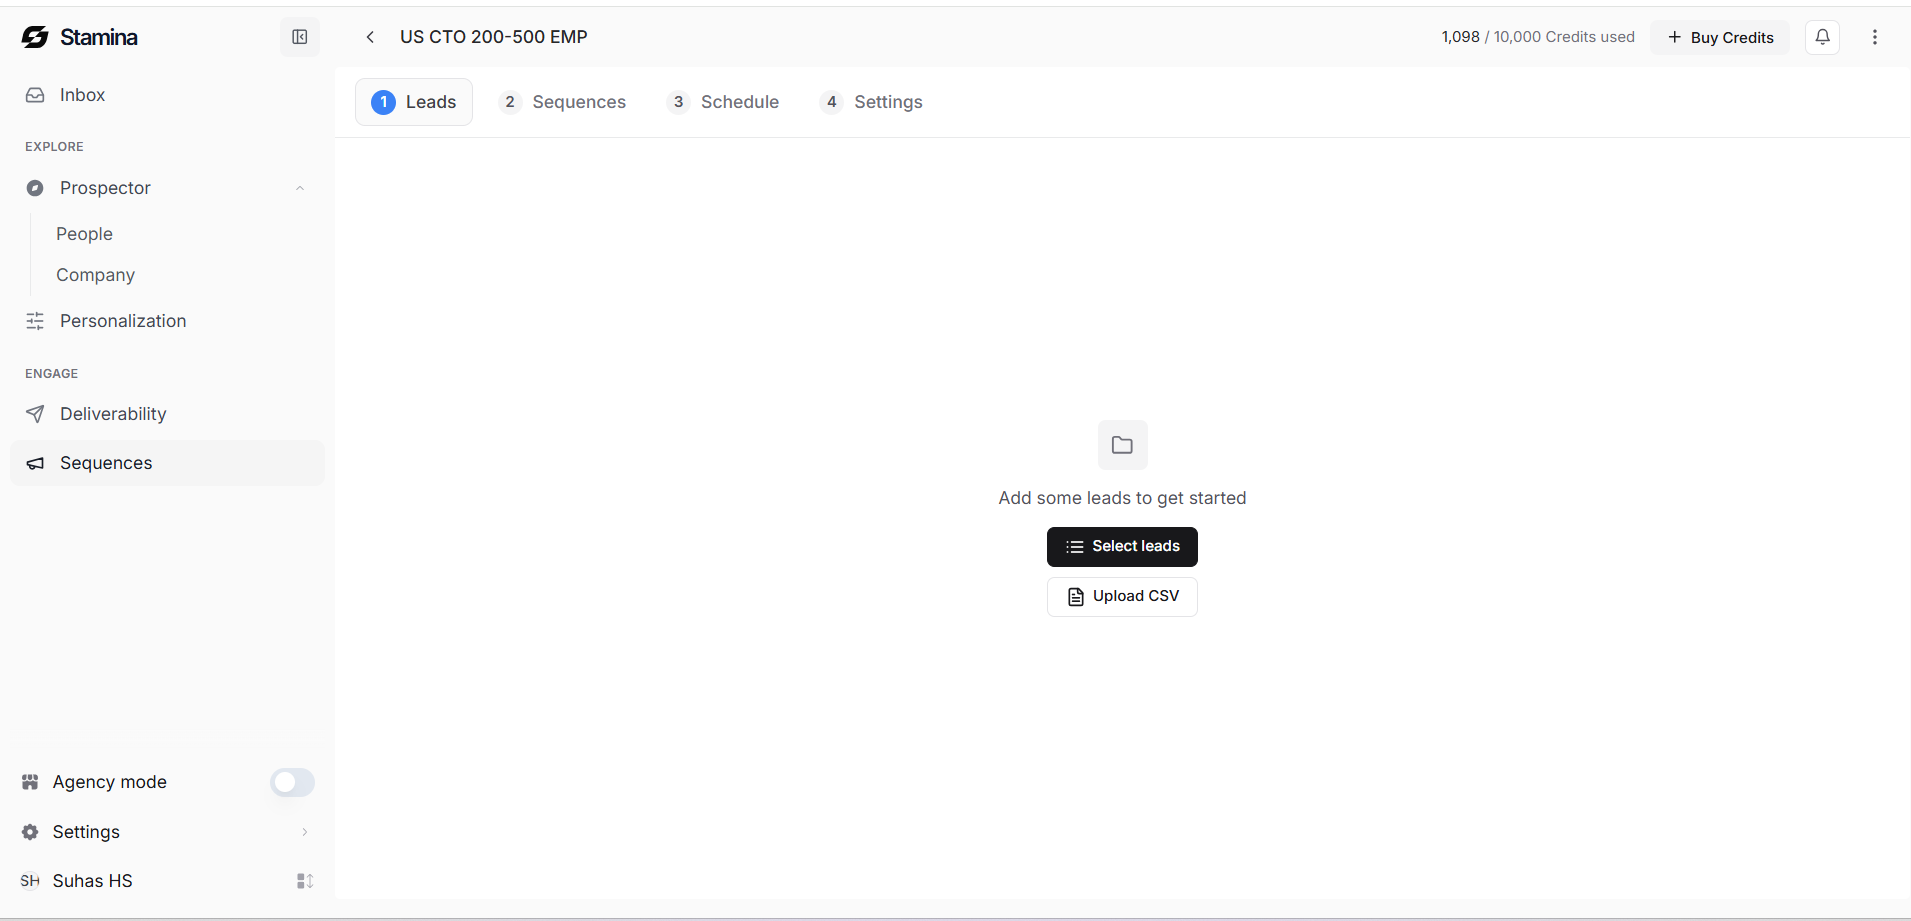
Creating a sequence is completed in four steps.
Step 1: Leads
Import the people you want to contact.
You can:
Select an existing lead list from Personalization.
Upload your own CSV file.
Only contacts with valid email addresses that aren't on your DNC (Do Not Contact) list are imported into the sequence.
Step 2: Sequences
Build the emails your leads will receive.
Create your initial email, add follow-up steps, test different subject lines or email variations, and preview your sequence before sending.
Step 3: Schedule
Choose when your sequence should run.
Configure:
Start date
Optional end date
Sending hours
Time zone
Active sending days
Scheduling helps ensure emails are delivered during appropriate business hours for your audience.
Step 4: Settings
Configure how your sequence sends emails.
Settings include:
Sending accounts
Daily sending limits
Time gaps between emails
Reply handling
Delivery optimization
Bounce protection
Unsubscribe settings
These controls help balance campaign performance with healthy sending practices.
Screenshot Placeholder
Four-step sequence builder showing:
Leads → Sequences → Schedule → Settings
Save or launch
You can save your sequence as a Draft while you're still making changes.
When you're ready, click Launch to begin sending emails according to your configured schedule.
After launch, you can monitor replies and campaign activity from the Inbox.
Best practices
Build and enrich your lead lists before creating a sequence.
Use descriptive sequence names that make campaigns easy to identify.
Review your email content and personalization before launching.
Double-check your schedule and sending settings before activating a campaign.
Start with conservative daily sending limits when using newly connected inboxes.